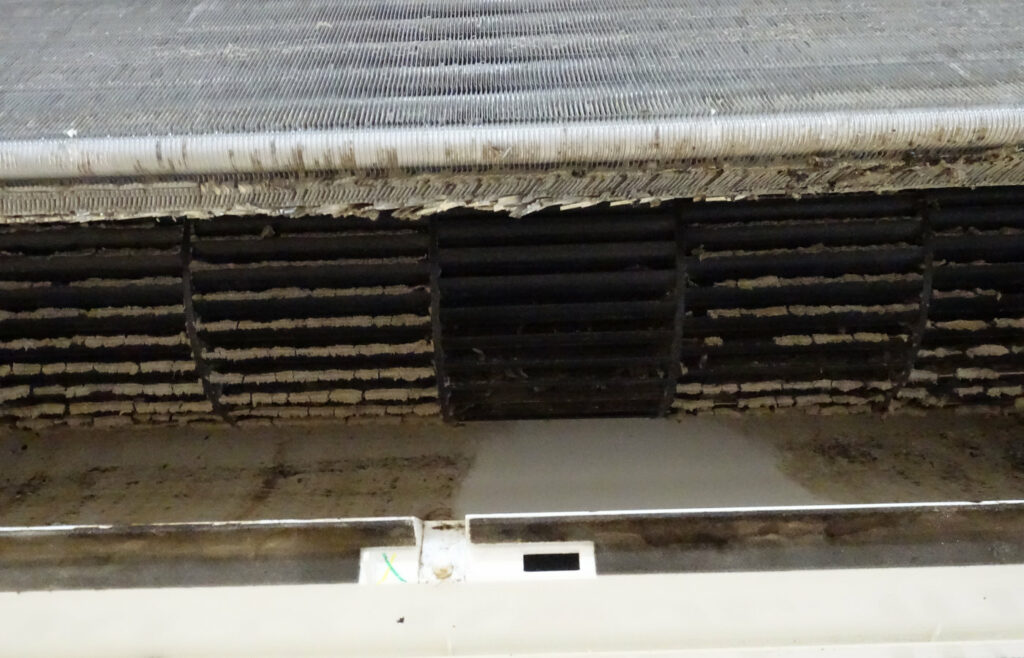
After watching a number of YouTube videos we attempted to clean our Mr. Slim unit the “easy” way. While the section of the case where we wiped it with a damp cloth and then brushed the blower vanes may look clean it really wasn’t. The brush only removed the dirt from the front section of the blower vanes, plus we couldn’t clean the case behind the blower. So much for the easy way which meant disassembling the unit. After another round of watching YouTube videos – why does each video leave out a step or two? – we were able to disassemble the unit. I say we because my wife handing me tools and carefully laying out the parts I removed made the task so much easier. Plus she remembered things from the videos that I didn’t. I’m so lucky to have married a farm girl. Smart Rob.
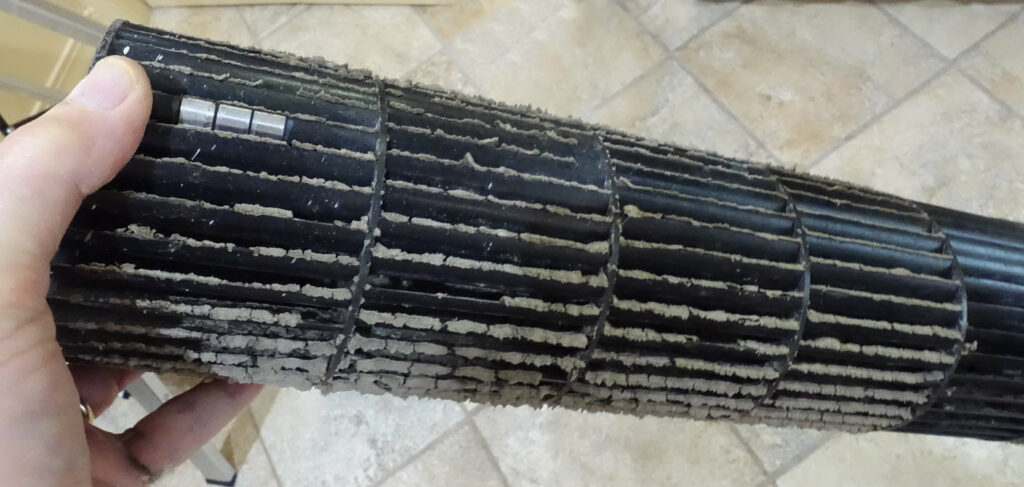
I can guarantee we will never let the unit get this dirty again.
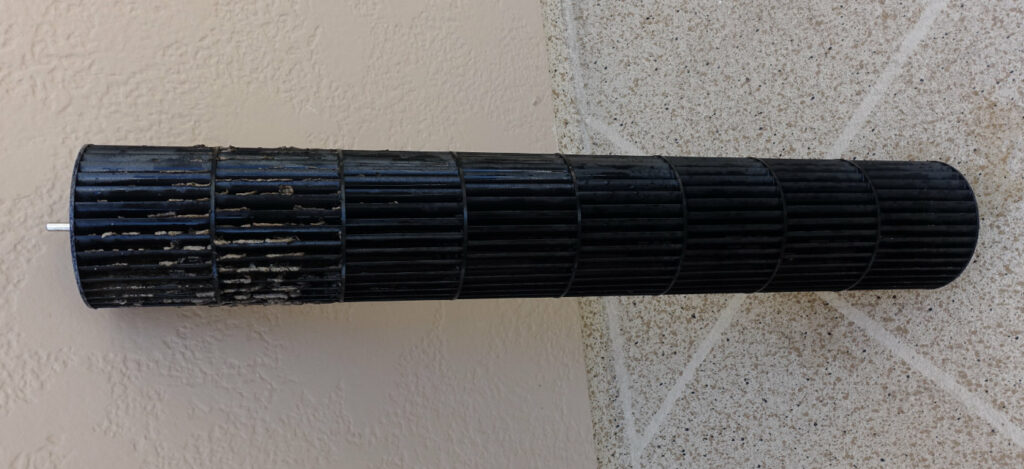
The blower partially cleaned. A garden hose, a bucket of water with Dawn added (if it cleans oil off a sea bird it should clean an AC blower shouldn’t it) and you can see the difference it makes with the right half having been cleaned.
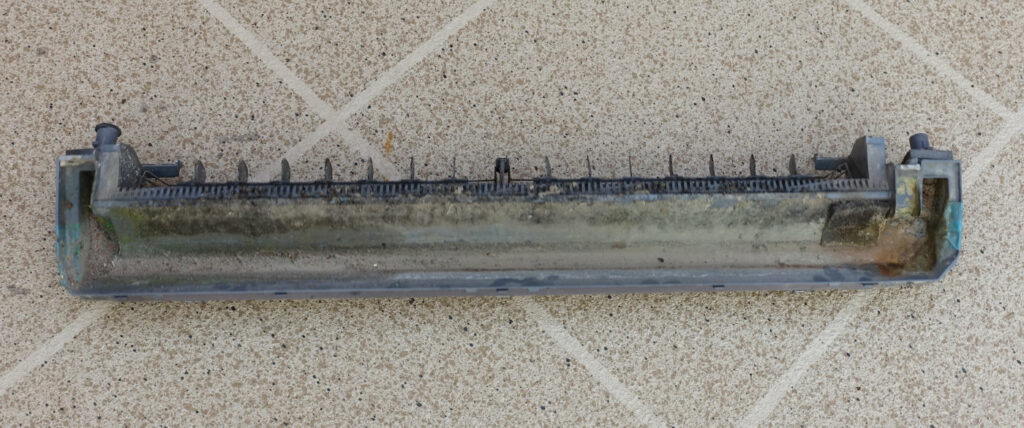
Build up of residue in the condensate tray.
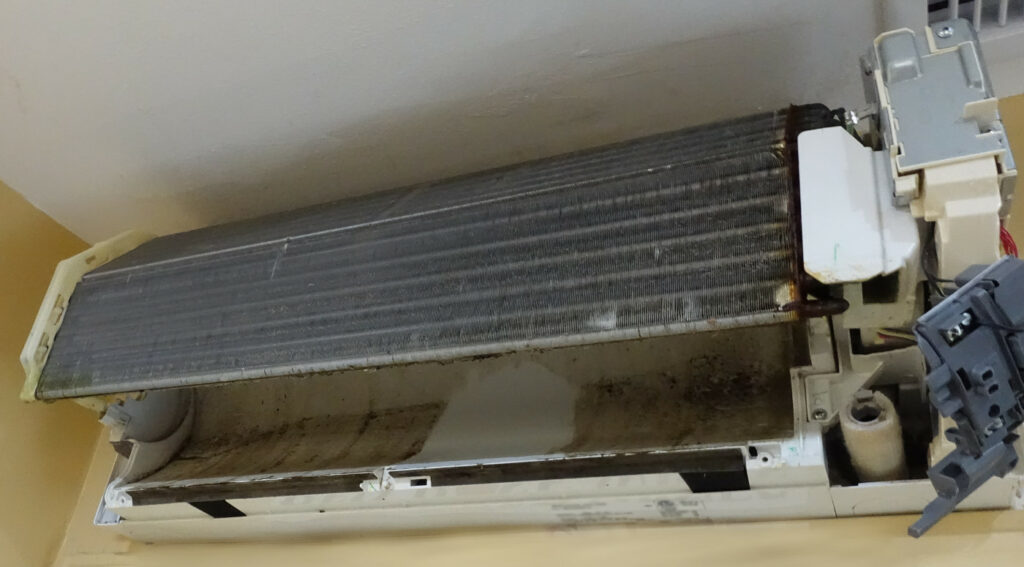
The unit with the blower and water condensate tray removed.
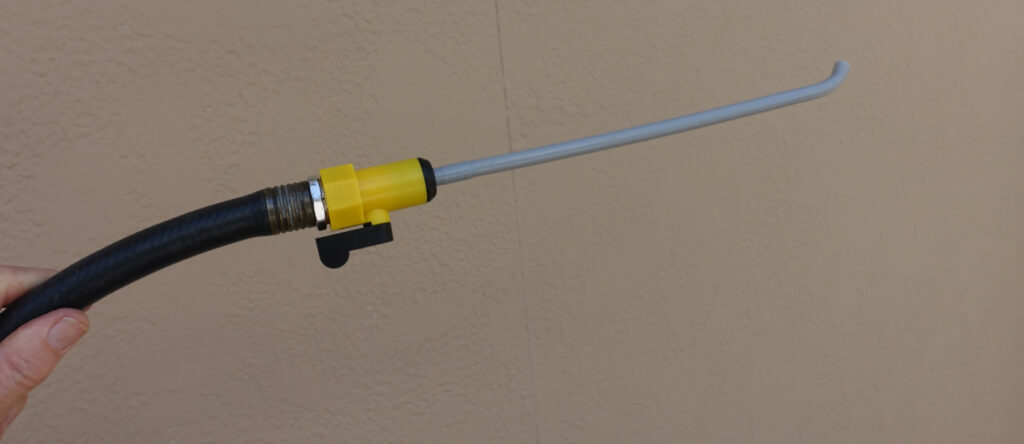
After cleaning the case, the last step was to clean out the drain line. I opted for the water rinse method, using a water wand we use to clean out the 5th wheel RV’s hot water tank.
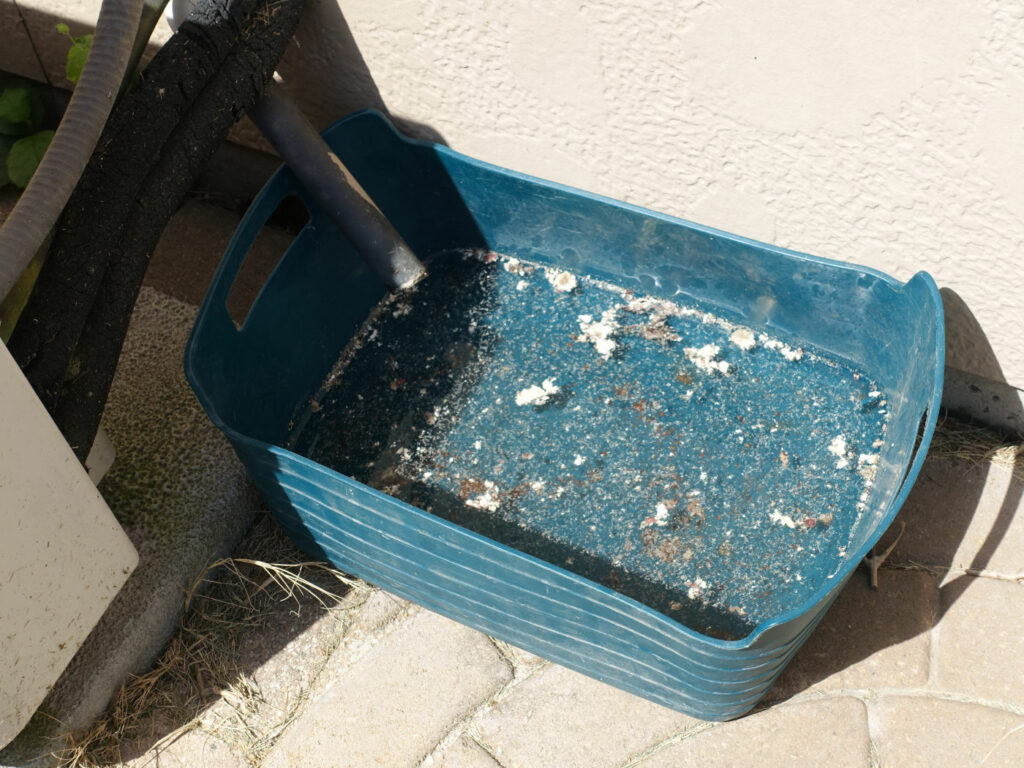
What came out of the drain line.
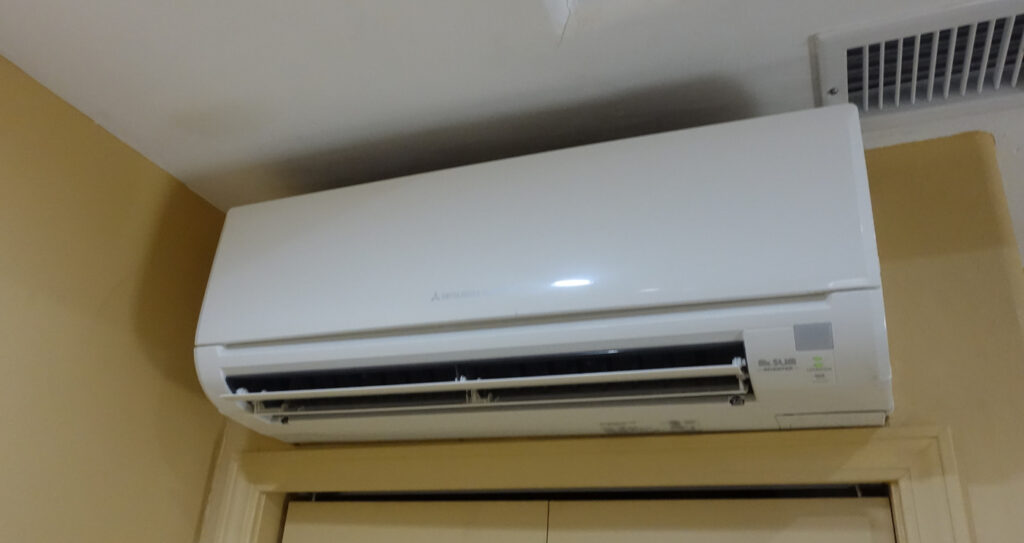
All cleaned up and reassembled. It wasn’t all that hard to do I say with a great deal of hindsight. Thank you YouTube.